



Learn how to mark an email as Private in Outlook
-
Conrad Murray
-
06 March, 2016
Tagging a message as private (this doesn’t prevent sharing or printing)
If you just want to let people know that you’d like them to treat your email as private, you can tag it as such. This doesn’t stop them from forwarding or printing your message. Instead, it includes “ Please treat this as Private” at the top of your email:However, nothing prevents them from forwarding or printing that message. To restrict what recipients can do with a message you send, you have to use Information Rights Management (IRM) – https://technet.microsoft.com/en-us/library/dd638140(v=exchg.150).aspx
You can easily mark an email as Private by simply going to the Options in the new mail message on Message Tab and the Tags section, but wouldn’t it be easier to do it “one click” from the Ribbon. On the Ribbon, you only have Follow Up, High Importance and Low Importance as quick click shortcut, however on the Calendar Ribbon the Private Button is available! – How annoying.
So, how can you add a Mark as Private Button to the Ribbon / Quick Access Toolbar
First up you need to Open Outlook then follow these steps.
- Use ALT+F11 to open the Macro Editor
- Import the attached file (ToggleSensitivity.bas)
This file contains the following:
Sub TogglePrivateSensitivity() Dim objCmdBar As Office.CommandBar Dim objButton As Office.CommandBarButton Dim bResult As VbMsgBoxResult If ActiveInspector.CurrentItem.Sensitivity = olPrivate Then ActiveInspector.CurrentItem.Sensitivity = olNormal bResult = MsgBox("This email is NOT Private", vbOKOnly, "Privacy Settings") Else ActiveInspector.CurrentItem.Sensitivity = olPrivate bResult = MsgBox("This email is Private", vbOKOnly, "Privacy Settings") End If End Sub- Save and Close
- Open a New Email
- Right Click and empty space on the Ribbon
- Choose Customize the Ribbon
- On the right Side, under Customize the Ribbon make sure that Main Tabs is selected
- Right Click the Check Box Enabled New Mail Message select Add New Group
- Right Click New Group (Custom) and call it Toggle Privacy
- Now, on the left under “Choose commands from”
- Change the Drop down to Macros
- Find your Macro probably called something like Project1.TogglePrivateSensitivity
- Click and choose Add >> from the middle divider
- Rename this as well and call it Toggle Privacy and choose the Padlock Icon
- Click OK and you’re done
Conrad Murray
Conrad Murray is a Microsoft Certified IT consultant working in IT for over 20 years specialising in the Messaging arena and in particular Office 365 and previously Microsoft Exchange On-Premises and IBM Domino. Working with like minded colleagues now delivering very large scale complex migrations from Office 365 to Office 365 (tenant to tenant), Lotus Notes and On-Premises Microsoft Exchange to Office 365.
News & Insights
Trusted insights on technology and innovation to power your business growth.

-
03/06/2026
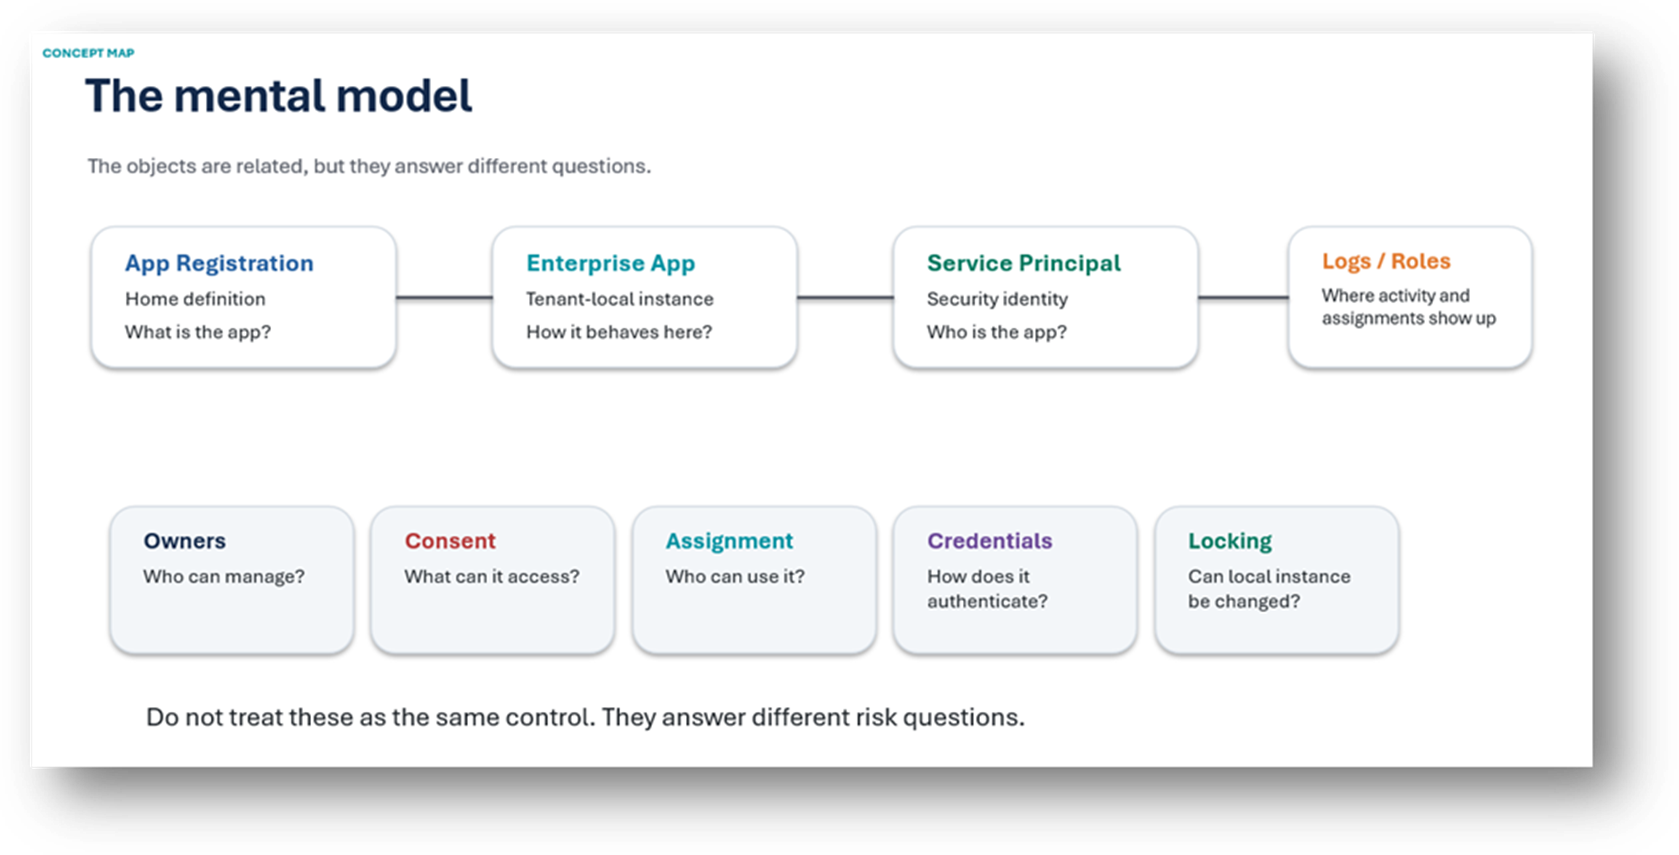
A practical engineering guide to owners, assignment, consent, credentials and ...
Read More
-
19/05/2026
Domain migrations in Microsoft 365 are rarely as simple as shifting email ...
Read More
-
12/05/2026
Over the past 10 to 15 years, Microsoft 365 has fundamentally reshaped how ...
Read More

-
07/05/2026
Yesterday we had an all company meeting and I thought it would be cool to kick ...
Read More
-
07/05/2026
Planning a tenant-to-tenant migration? Talk to us
Read More
-
31/03/2026
In tenant-to-tenant (T2T) and Google-to-Microsoft 365 migration projects, ...
Read More
-
27/03/2026
You’d think this would be easy and not an uncommon request. There are genuine ...
Read More
-
23/03/2026
Managing Google to Microsoft Migration with GAM7 and PowerShell
Read More
-
16/03/2026
When a user leaves an organisation in Microsoft 365, administrators have ...
Read MoreSubscribe to our newsletter for the latest updates and insights.
Like what you see? Stay in touch! Subscribers to our email list are among the first to receive the latest news, views and updates from Nero Blanco
Learn how to mark an email as Private in Outlook">