


-
 Twan van Beers
-
 07 February, 2019
Azure is a great service for hosting virtual machines, however sometimes VMs get into trouble and aren’t able to boot… Then you find yourself longing for a keyboard and screen connected directly or via Hyper-V or ESX.
Alas don’t despair there are two options that may help!
Serial Console
Within the Azure Portal there is a Serial Console option, which can give you access to the VM without needing to remote into the VM. This is great for when you’ve locked yourself out in some way. Conrad recently blogged about a use case for this when sysprepping a domain joined machine
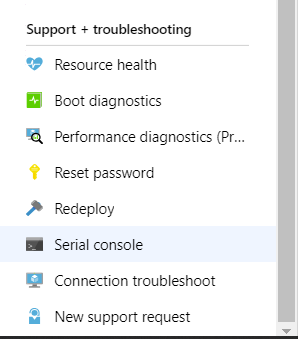
You get to the Serial Console by going to the Virtual Machine in Azure and then in the VM blade looking toward the bottom for Serial Console
Once you have the serial console connected then you can type
cmdch -si 1
to get to a command prompt after entering administrative credentials.
Hyper-V within Azure
There are cases where you can’t get a serial console to work, one recent case for us was a Domain Controller that kept throwing a 0xc00002e2 stop error, which means ADDS is unable to start. Normally you would start the VM without ADDS running and work out what happened. Often it is a disk that failed to come online, which has happened to us a few times with on-premises VMs after Microsoft patching/reboot.
Of course in Azure you can’t press F8 to get to the Advanced Boot Options menu. True but you can create a VM within Azure that runs Hyper-V which uses the disks/snapshots of the broken VM to create a VM where you can press F8!
OK I admit that is a bit of a mind meld but it does actually work!
So the high level steps to achieve this are
- Detach the disks from the broken VM or Snapshot them and create managed disks from those snapshots
- Create a new VM within Azure in the same Resource Group and Location
- Attach the disks or copies as additional data disks to this new VM
- Within the new VM
- add the Hyper-V role
- take the disks belonging to the VM you’re trying to troubleshoot offline
- open Hyper-V managed on the VM
- create a VM within this VM without any disks
- attach the disks to the new child VM, choosing the Physical Disk option to locate the disks
- Now you can start the VM within Hyper-V manager and get a full console connection to it. Here you can press F8 til your heart’s content
- Once complete then shut down the Hyper-V host VM, remove the disks and add them back to the original VM within Azure and done!

Twan van Beers
Twan is a senior consultant with over 30 years of experience. He has a wide range of skills including Messaging, Active Directory, SQL, Networking and Firewalls. Twan loves to write scripts and get deep and dirty into debugging code, in order to understand and resolve the most complex of problems.
News & Insights
Trusted insights on technology and innovation to power your business growth.
-
 03/06/2026
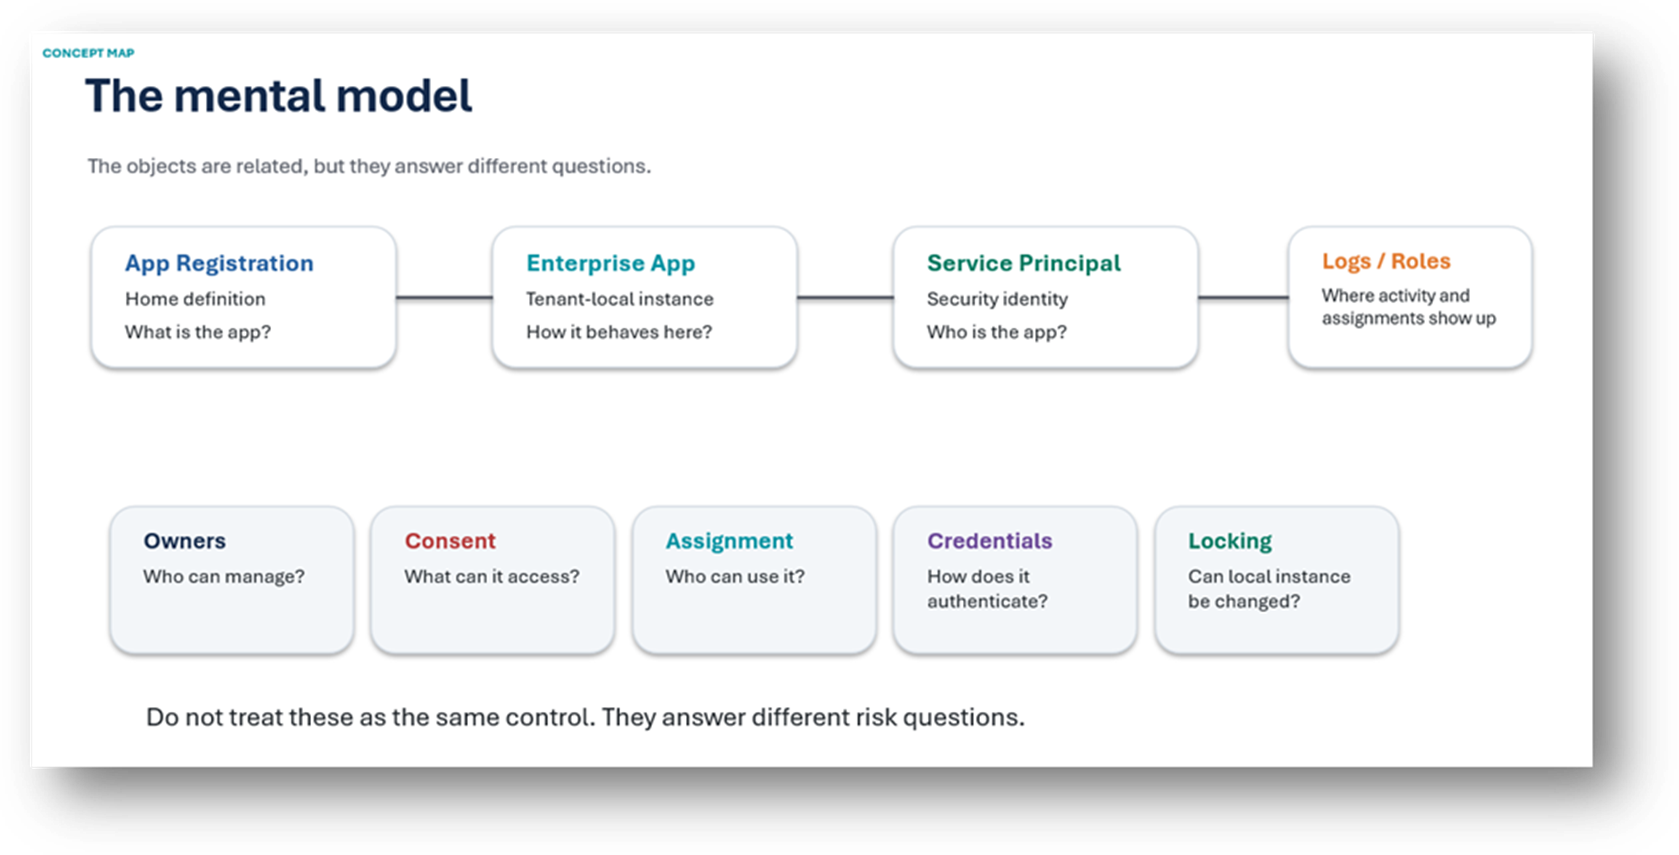
A practical engineering guide to owners, assignment, consent, credentials and ...
Read More
-
19/05/2026
Domain migrations in Microsoft 365 are rarely as simple as shifting email ...
Read More
-
12/05/2026
Over the past 10 to 15 years, Microsoft 365 has fundamentally reshaped how ...
Read More

-
07/05/2026
Yesterday we had an all company meeting and I thought it would be cool to kick ...
Read More
-
07/05/2026
Planning a tenant-to-tenant migration? Talk to us
Read More
-
31/03/2026
In tenant-to-tenant (T2T) and Google-to-Microsoft 365 migration projects, ...
Read More
-
27/03/2026
You’d think this would be easy and not an uncommon request. There are genuine ...
Read More
-
23/03/2026
Managing Google to Microsoft Migration with GAM7 and PowerShell
Read More
-
16/03/2026
When a user leaves an organisation in Microsoft 365, administrators have ...
Read More
